Description
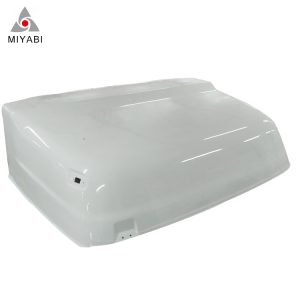
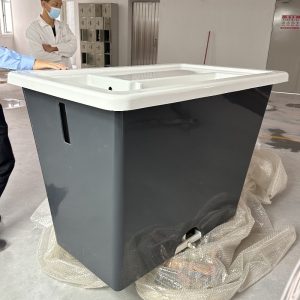
The FRP shell of the simulated cockpit is a common lightweight, high-strength solution suitable for flight simulators, ship driving simulations, racing simulators, etc. The following is a step-by-step description of the design, production and key technologies:
1. Design phase
1.1 Requirements analysis
Functional requirements: impact resistance, weather resistance, light transmittance (if windows are required), fire rating (such as aviation/ship requirements).
Structural requirements: lightweight (GRP density is about 1.5-2.0 g/cm³), load-bearing capacity (such as installation of instruments or brackets).
Appearance design: Customize curved or flat structures according to the type of simulator (such as aircraft, ship).
1.2 3D modeling
When using CAD software (such as SolidWorks, Rhino) to design the shell surface, consider:
Block production: Large shells need to be made in modules and then spliced.
Demolding angle: If mold forming is used, a demolding slope of ≥3° needs to be designed.
Reinforcement ribs: Design reinforcement structures on the back to improve rigidity.
2. Material selection
2.1 Base resin
Epoxy resin: high strength, corrosion resistance, suitable for aviation simulators.
Polyester resin: low cost, suitable for general industrial simulators.
Vinyl ester: high temperature resistance, anti-aging, suitable for extreme environments.
2.2 Reinforcement fiber
Glass fiber (E-glass): most commonly used, cost-effective.
Carbon fiber: higher strength/weight ratio, but high cost.
Kevlar fiber: impact resistance, used in military simulators.
2.3 Auxiliary materials
Gel coat: spray colored gel coat (such as aviation gray) on the surface to improve weather resistance.
Flame retardant additives: meet UL94 V0 or aviation fire protection standards.
3. Manufacturing process
3.1 Mold making
Master mold: Carve the prototype with high-density foam or wood.
Negative mold: After applying release agent on the master mold, lay FRP (2-3 layers of fiber + resin), and demold after curing.
3.2 Shell molding
Hand lay-up molding (low cost):
Spray gel coat in the mold.
Alternately lay fiber cloth (such as 300g/m² chopped strand mat) and resin, the number of layers depends on the thickness requirement (usually 4-6 layers).
Roll to remove bubbles.
Vacuum bag molding (high precision):
After laying, cover the vacuum bag, vacuum and pressurize to make the fiber dense.
RTM (resin transfer molding): suitable for complex curved surfaces, resin is injected into the closed mold.
3.3 Curing and post-processing
Curing: 24 hours at room temperature or heating (60℃) to accelerate curing.
Finishing: cutting edges, drilling (instrument installation position), grinding (surface to 600# sandpaper).
Painting: Polyurethane topcoat or imitation metal coating.
Contact Us
E-mail:sales@miyabifrp.com
If you are interested in any of Fiberglass products, please contact me by email and we will be happy to quote our lowest price as soon as we receive your detailed request.


